Would you like to use a different name for the Wi-Fi network that was given by CenturyLink? It can be convenient to change the name of your Wi-Fi network, or SSID, to distinguish your network and organize several networks. Luckily, the procedure of changing CenturyLink's Wi-Fi network name is not a complicated one and it would not even take you a few minutes to do that.
Here is a step-by-step guide:
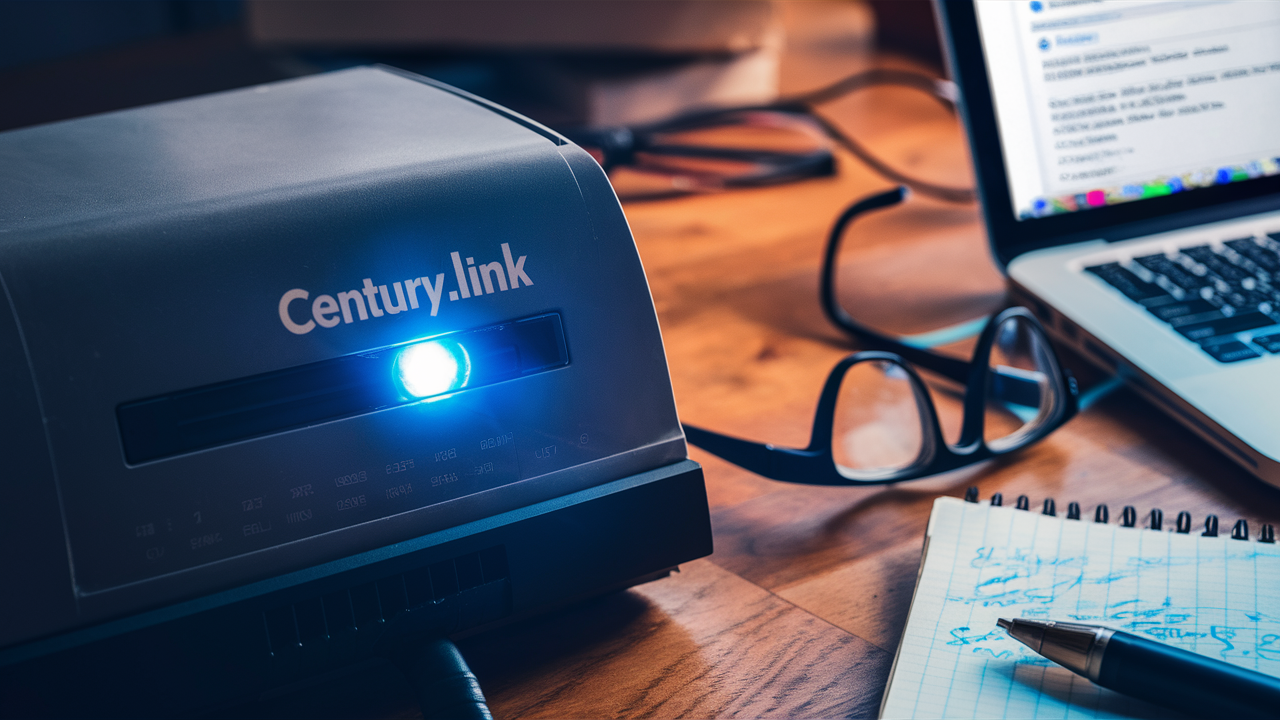
Sign in to the CenturyLink Router
The first thing you need to do is to access the CenturyLink wireless router admin interface. To do this:
a) Press the network icon on your desktop and select ‘Open Network and Sharing Center’, then ‘Change adapter settings’; connect the computer directly to your CenturyLink router using an ethernet cable. Check that the wireless option is off on the device to confirm that the device is directly connected.
b) Simply go to any web browser and then type the router login IP address, which is often 192.168.0.1. If the above IP address does not work, try with 192.168.1.1.
c) When you are asked to log into your CenturyLink router, type in your admin username and password. The default login is typically:
Username: admin
Password: password
If you have modified the admin login details then you should input your username as well as password.
Go to the Wireless Settings Section
When you are in the router’s settings and you are using a web browser to manage the router, you are required to go to the wireless or Wi-Fi tab. For CenturyLink routers, this section could be named Wireless, Wi-Fi, Wireless Network, SSIDs, or anything along those lines.
In case you are struggling to get to the wireless settings, you should option menu that is commonly placed at the top or the left part of the interface. This will open a menu where you can search for wireless settings and tap on it to open it.
Locate the Network Name (SSID) Field
In wireless settings, the name of the network will be in the section. In most cases, there will be one or more network names already set up in dual-band CenturyLink routers.
You may see network names like:
- CenturyLink
- CenturyLink-5G
The network names may also have some characters added at the end of the names randomly by default.
Enter Your New Wi-Fi Network Name
To edit the name of the network, highlight inside the network name field and delete the name that was previously in there. Next, enter your new custom Wi-Fi network name.
Keep these tips in mind when choosing a new name:
- Choose a name that will enable you to easily identify your network. For instance, “[Your last name]’s Network”
- The name can contain up to 32 characters.
- Spaces, dashes, underscores, and other special characters are allowed
Your New Wi-Fi Network Name Is Saved
After entering your new name in the correct network name fields, click on the save button. There should be a save button at the bottom of the page or in the top menu – click it to save the new name.
If you renamed the 2.4GHz and 5GHz networks, you must update the new SSID for both bands of the wireless network.
Connect Devices to the New Network Name
The last step that must be taken is to reconnect the wireless devices activated previously. Begin with unplugging various devices from the previous network. Then choose and connect them to your newly changed wireless network name.
After reconnecting, your devices will automatically use the custom network name. Have fun with your renamed wireless network!
Troubleshooting Tips
If you encounter any issues changing or connecting to your renamed SSID, here are some tips: If you encounter any issues changing or connecting to your renamed SSID, here are some tips:
- Ensure that all the login details and passwords that are input into the router admin panel are correct.
- Some of the changes made by the user may need a restart of the CenturyLink router, and this can be done by unplugging the power cable and then connecting it again.
- Go to the settings of the devices click on the option ‘forgot password’ and then search to connect to the newly changed network.
- If you have login or configuration problems, restore your router to its default settings.
- If the issue is still not resolved, it is advisable to contact CenturyLink technical support for assistance in changing the network name.
If you were able to follow the instructions outlined above, you should have been able to alter or manipulate your desired CenturyLink home Wi-Fi network name. Having a unique SSID could be of help in managing different networks especially if the name chosen is unique to you.
Call (844) 340-6002 to get a new CenturyLink connection now!
Read More:
How to Return CenturyLink Modem?
How Much is CenturyLink Internet Per Month?
How to Reset CenturyLink Router?
How to Change a CenturyLink Wi-Fi Password?
How to Change Wireless Network Password CenturyLink?