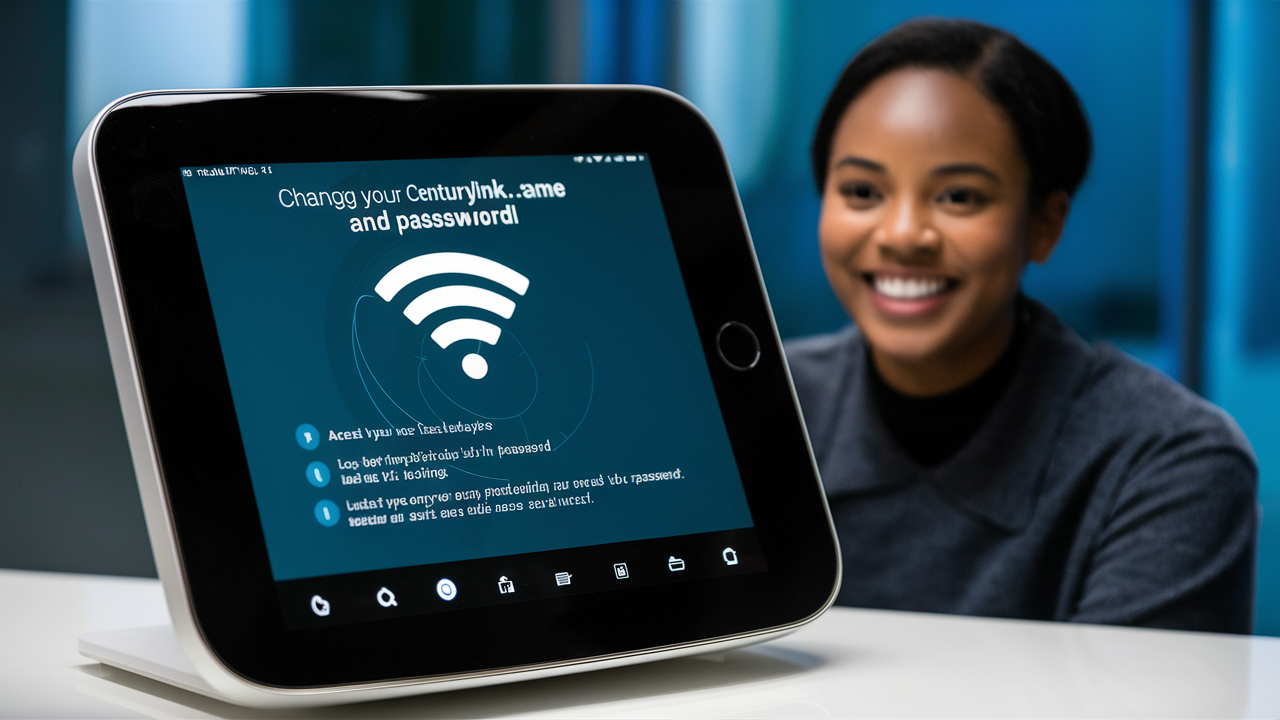
One of the ways of ensuring your home network is secure is to choose a distinct and secure name for your wifi network and also a secure password. If you are using the wireless router provided by CenturyLink, you may wish to change the default wifi name and password. This way, you make it more personal and less susceptible to unauthorized access or even hacking. Thankfully, CenturyLink allows you to edit these settings directly through your router’s web-based application. Here is a step-by-step guide on how to change your CenturyLink wifi name and password:
Prerequisites
Before changing the SSID and password, make sure that:
- You have the login details that enable you to access the CenturyLink router admin interface. This needs one to plug the device directly into the router via an Ethernet cable or to use the existing wireless connectivity.
- You have the router admin login details. The default username is admin and the default password is password. If you have already changed them, then you should use these credentials.
- You have chosen a new network name and wifi password to switch to. Ensure that they are original and not something that anyone can guess with ease.
The first step to follow is to open the router’s administration page by logging into it.
The first step here is to open the admin interface of your CenturyLink router. To do so:
1. To add a computer to the router, you can either plug it into the router via an Ethernet cable or join the existing Wi-Fi network.
2. Open a web browser window and visit: This one is a web address normally used to access a router’s settings: http://192.168.0.1
3. Enter the admin login details when the application is requesting login details. The default login credentials are username: “admin”, and password: “password”.
You will then be taken to the router control panel and administration settings.
Go to Wireless Settings
From the router admin dashboard:
1. Select “Wireless” in the left-hand sidebar.
2. Choose the “Wireless Settings” option.
3. Look for the “Connect to” “Select Network” or “Network Name (SSID)” fields.
Type in the new preferred wifi network name.
Some tips when changing the SSID:
- In choosing the name, avoid using a common name that many people can use.
- The name can contain up to 32 characters and can include any alphanumeric character.
- This means that no space or special characters should be used.
When the modem’s settings are displayed, look for the Wireless Password option and change the current password to the desired one.
Under the “Wireless Security” settings:
1. Search for the “Current Pre-shared key” field.
2. Type your newly intended wifi password in this field.
Important tips when changing the wifi password: Important tips when changing the wifi password:
- The password must be a string of 8 to 63 characters.
- It can be a combination of alphabetical characters, numerals, and symbols.
- Do not use weak/simple passwords that can be easily cracked by other individuals.
- Make sure that no one is connected to the wifi when saving the new password because anyone connected will lose connectivity and will have to use the new password.
Then, click Save Changes to save the changes that have been made.
After entering your customized SSID and wireless password, the last step is to save your changes:
1. After entering new wireless settings, the ‘Apply’ button is pushed first to apply the settings temporarily.
2. You need to click the button that is labeled ‘Save Settings to Flash’ to enable the changes to be saved on the router firmware. That will make sure settings stay intact in case of power failure.
3. The router will restart. Wait for 2-3 minutes as the modem will reconnect automatically.
After the modem is done restarting, configure your wireless devices with the new wifi name and password!
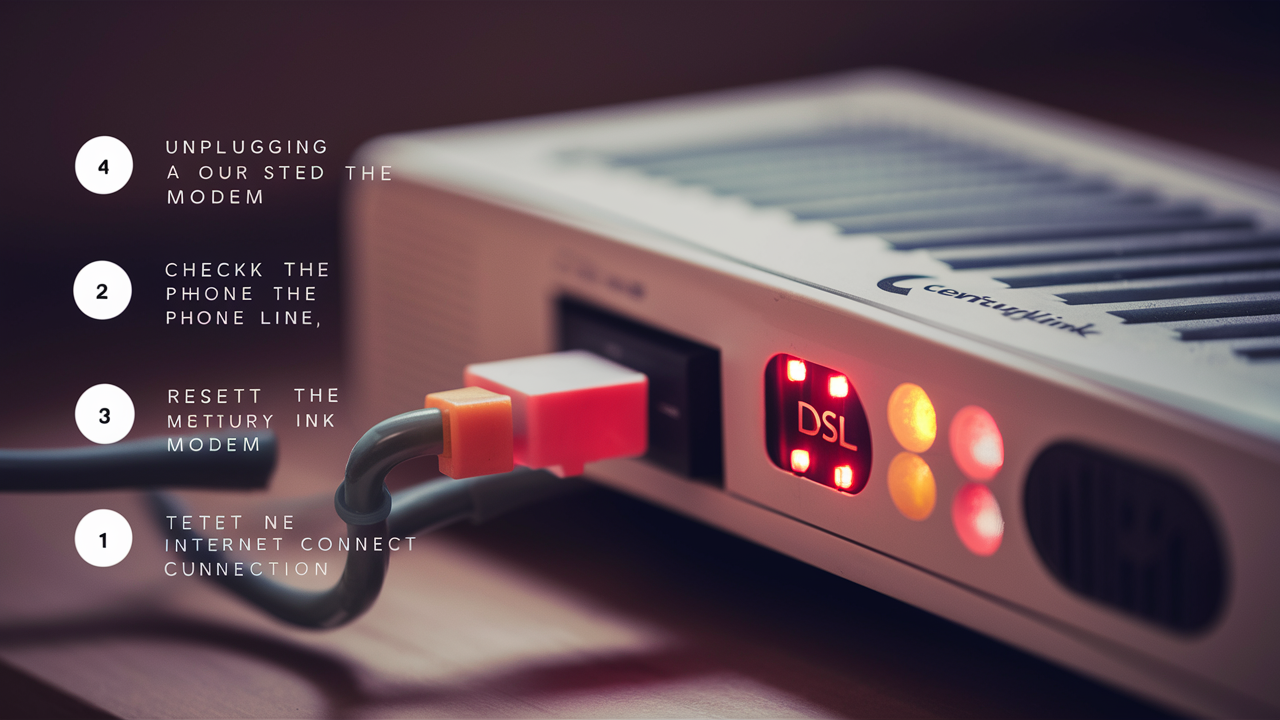
Troubleshooting Tips
If you encounter any issues connecting devices wirelessly after changing CenturyLink router settings, consider the following troubleshooting tips:
- Make sure that the new wifi name and passwords are typed correctly on all the devices. Small discrepancies can disrupt unions.
- Restart the modem and the devices that are problematic with the internet connection. If the reboot does not solve the problem then restart the network adapters on the troublesome machines.
- Forcing the new security standard may weaken the devices’ capability to connect; revert to “none” for some time. Only do so for a short time for the sole purpose of connection testing.
- If cannot connect to the new settings, then the last option will be to press the small reset button at the back of the router for more than 5 seconds which will set the router to factory default settings.
It is recommended to change the CenturyLink wireless network settings from time to time to keep the wifi network secure and according to your preference. Thus, the additional steps that are required to get to it are very limited.
Call (844) 340-6002 to get a new CenturyLink connection now!
Read More:
How to Return CenturyLink Modem?
How Much is CenturyLink Internet Per Month?
How to Reset CenturyLink Router?
How to Change a CenturyLink Wi-Fi Password?
How to Change Wireless Network Password CenturyLink?