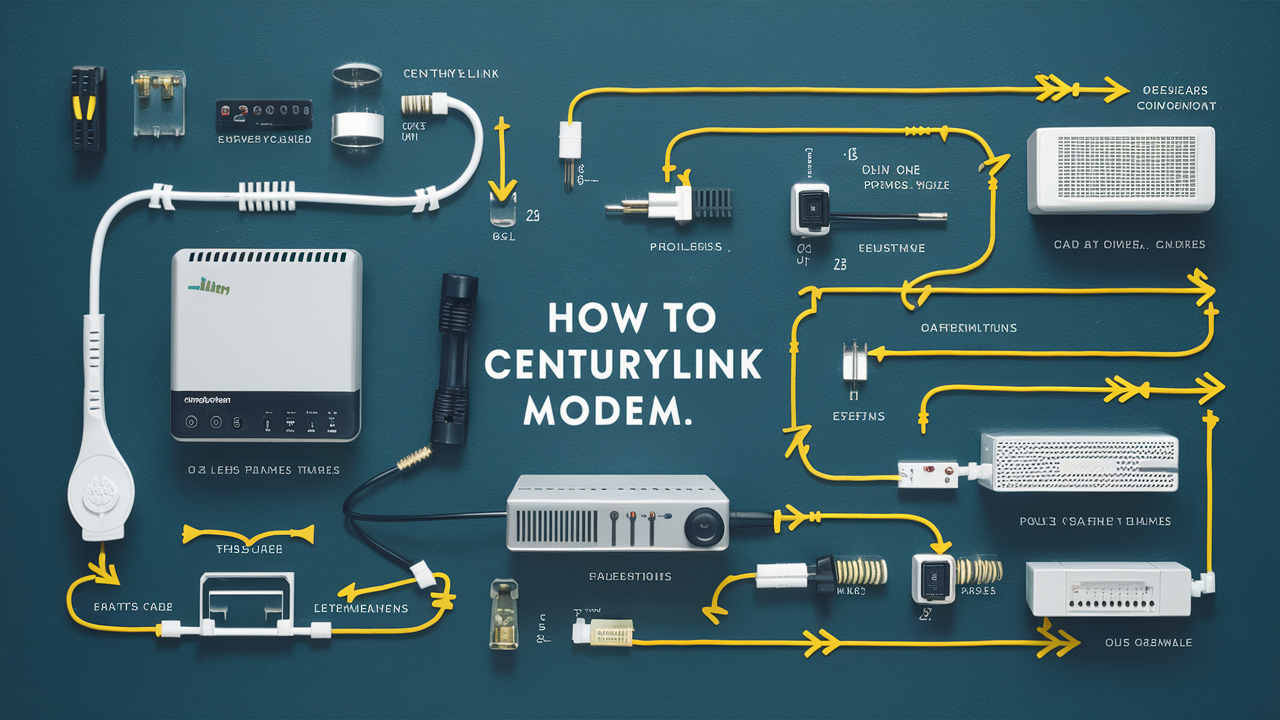
Learning how to set up your CenturyLink internet service involves learning how to connect your new modem correctly. Connecting a CenturyLink modem is quite easy, though it is recommended that one follow the correct procedure so that the modem is connected properly and provides Wi-Fi and internet service provider. In this tutorial, I will explain to you how you can configure a CenturyLink modem from scratch to its completion.
What You Need?
- CenturyLink modem
- Ethernet cable which comes with a modem.
- Coaxial cable (an option)
- Be assured that CenturyLink service is currently available at your location.
- Computer, phone, or tablet to configure the modem
Step 1 – Choose Your Location
First, you are to determine where to install your CenturyLink modem. The ideal location is:
- Close to a telephone outlet, a coaxial outlet, or a network outlet for connecting your equipment
- Well-ventilated place or location that is not exposed to direct sunlight or heat.
- Living room, as it is generally the central part of the house with the best signal reception.
Do not install the modem inside closed closets outside the house or where it is exposed to direct sunlight or near the vents.
Step 2 – Connect the coaxial cable
Note: If you have a DSL plan, you can skip this step. If you have CenturyLink fiber optic or Prism TV service, then take a coaxial cable and connect the wall coaxial outlet to the modem’s coaxial port labeled “Cable In”. Ensure that the cable fits tightly and tighten connection screws by hand.
Step 3 – Connect the Ethernet cable
All CenturyLink modems need an Ethernet cable that connects your modem to the wall Ethernet port in your home. Use the yellow Ethernet cable included, then connect one end to the yellow “Ethernet” port on your modem. Screw the other end into the Ethernet wall outlet that you will fix at your preferred modem installation point.
Step 4 - Connect the Power Cable Once it is determined that the power cable is the correct one for the machine, it can be connected to the bottom of the machine.
Plug in the included power cable of your CenturyLink modem to an electrical outlet near the modem. Do not plug the modem into a light switch, this may lead to the cutting off of the power supply.
Step 5 - Power On
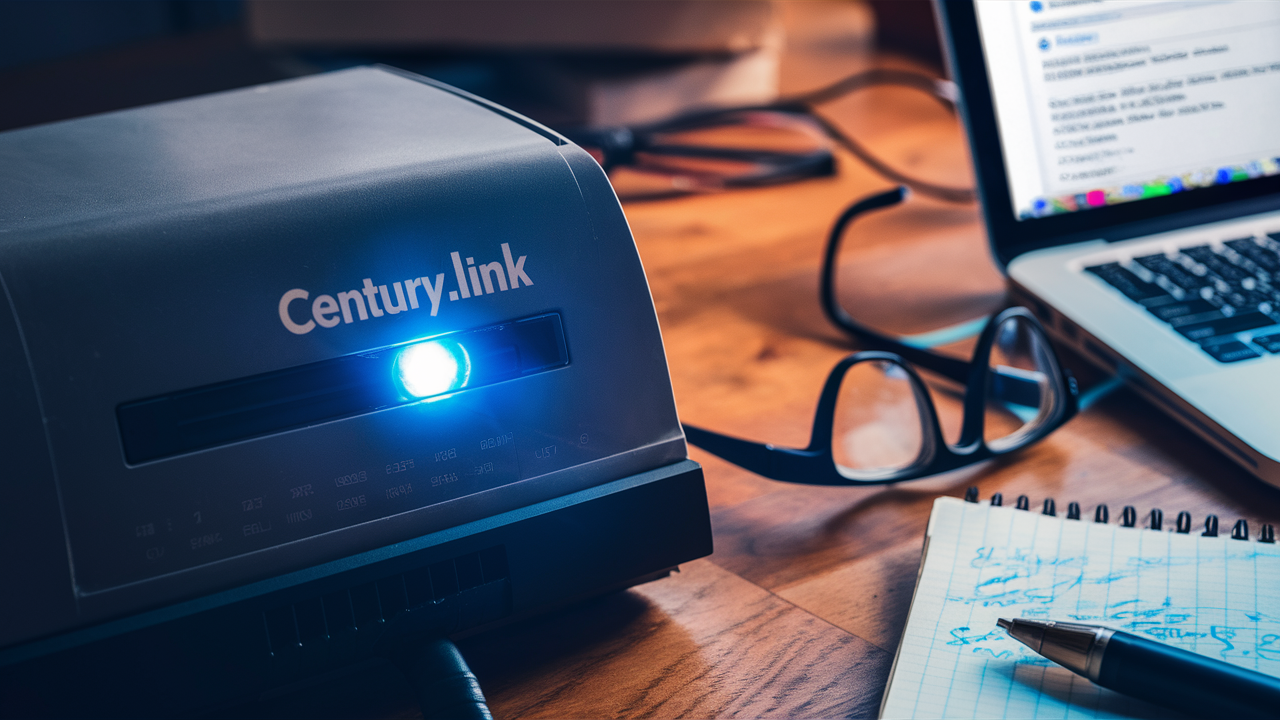
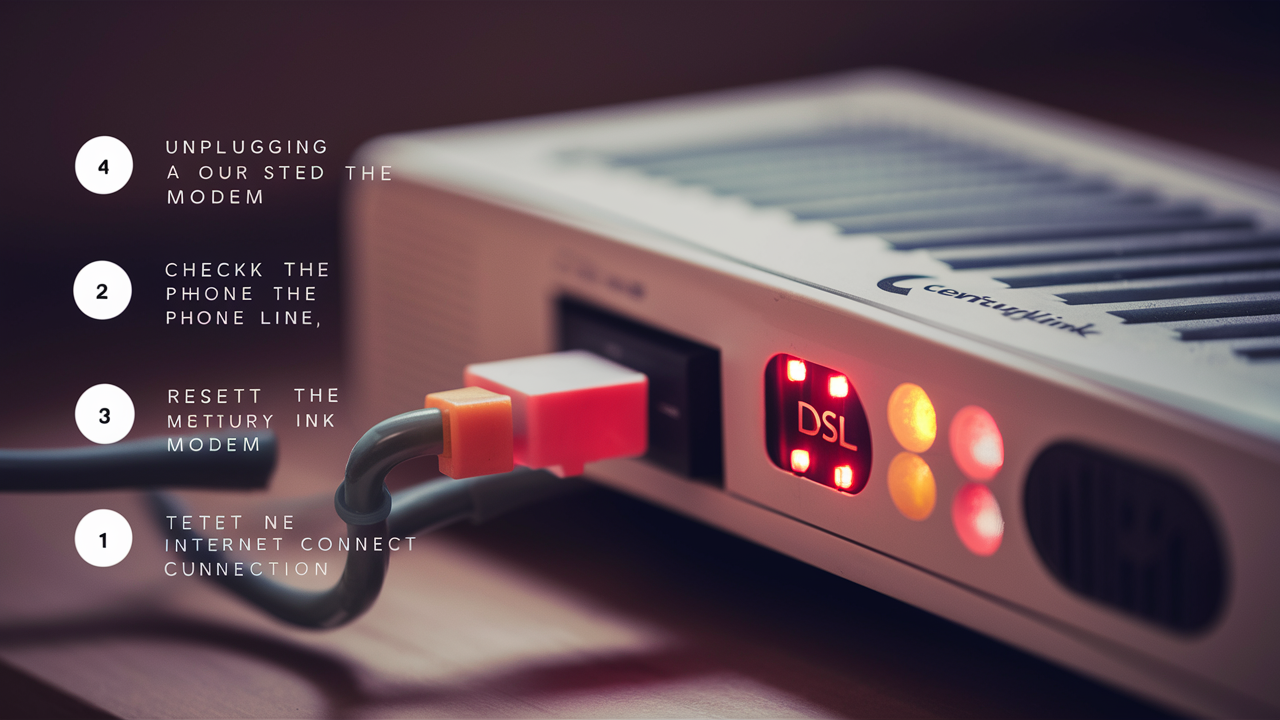
On the back or side of your modem is a power button or switch where you can switch off your modem. Press to switch on the modem. Some of the lights should light up as a sign of power and operations of the machine or LED lights may light up. Common indicator lights include:
- Power – means the modem has power
- Downstream – For cable signal
- Upstream - For internet signal to get back to the provider
- Ethernet – Refers to having a wired internet connection available.
- LED Light – Shows green color when WiFi is on
Step 6 – Wait for Startup & Connection
In the initial time of usage, it may take 2-10 minutes for your new CenturyLink modem to start up and synchronize with the internet signal to establish the service. The indicator lights can help show connection progress:
1. Power light becomes steady green
2. Downstream/upstream/ethernet lights are blinking and steady when connected
3. All lights turn solid after 2-10 minutes – this means the system is fully activated.
There will be some changes in the connections and power during this startup process, refrain from interfering with them. When all lights on your modem are steady green, the modem is live and you can proceed with its configuration!
Step 7 – Link your Devices
You can now connect all your internet-enabled devices directly to your new CenturyLink modem:
Using Ethernet wire – Fixed devices such as computers, smart TVs, and streaming players among others can directly plug an Ethernet cable into the yellow Ethernet ports on the modem. This results in the development of the quickest and most efficient connection to the internet.
Through the wireless network – For smartphones, tablets, laptops, and wireless devices – locate and connect to your specific CenturyLink Wi-Fi network name or SSID (for example CenturyLink1234) to your new wireless signal. The default Wi-Fi password (network key) can be found written on a sticker on your modem.
Note: Follow these instructions to set up and register your modem online Step 8
Please visit internet.centurylink.com/selfinstall on a connected device to finish the setup and modem registration. The instructions will guide you to change the admin password and configure a new Wi-Fi network name and password of your own.
Other Settings – Bridging Configuration
In some home configurations, including some older routers, it may be necessary to change the CenturyLink modem to “bridge mode”. This turns off the Wi-Fi signal of the modem so you may plug into Ethernet directly to your router without interference.
To enable bridge mode, go to the modem control panel through mymodemurl.com and then navigate to Settings > Connection > Set to Bridge Mode. It means that your devices can connect through your router settings now.
Get Online!
Once you see all CenturyLink modem lights are on steady, other devices connected directly or wirelessly should get a legitimate IP address indicating that your modem is configured as it should be! Perform a simple web search on any device connected to the internet to ensure that you have connectivity.
When you have set up your CenturyLink modem with a coaxial, Ethernet, or Wi-Fi connection, you are ready to enjoy your CenturyLink internet! After that, several simple connection processes ensure that getting your new modem online does not pose a challenge.
Call (844) 340-6002 to get a new CenturyLink connection now!
Read More:
How Fast is CenturyLink Internet?
How to Change CenturyLink Wi-Fi Name?
How to Change CenturyLink Wi-Fi Name and Password?
How to Change Password on CenturyLink Modem?
How to Fix CenturyLink Internet Light Blinking Red and Green?
