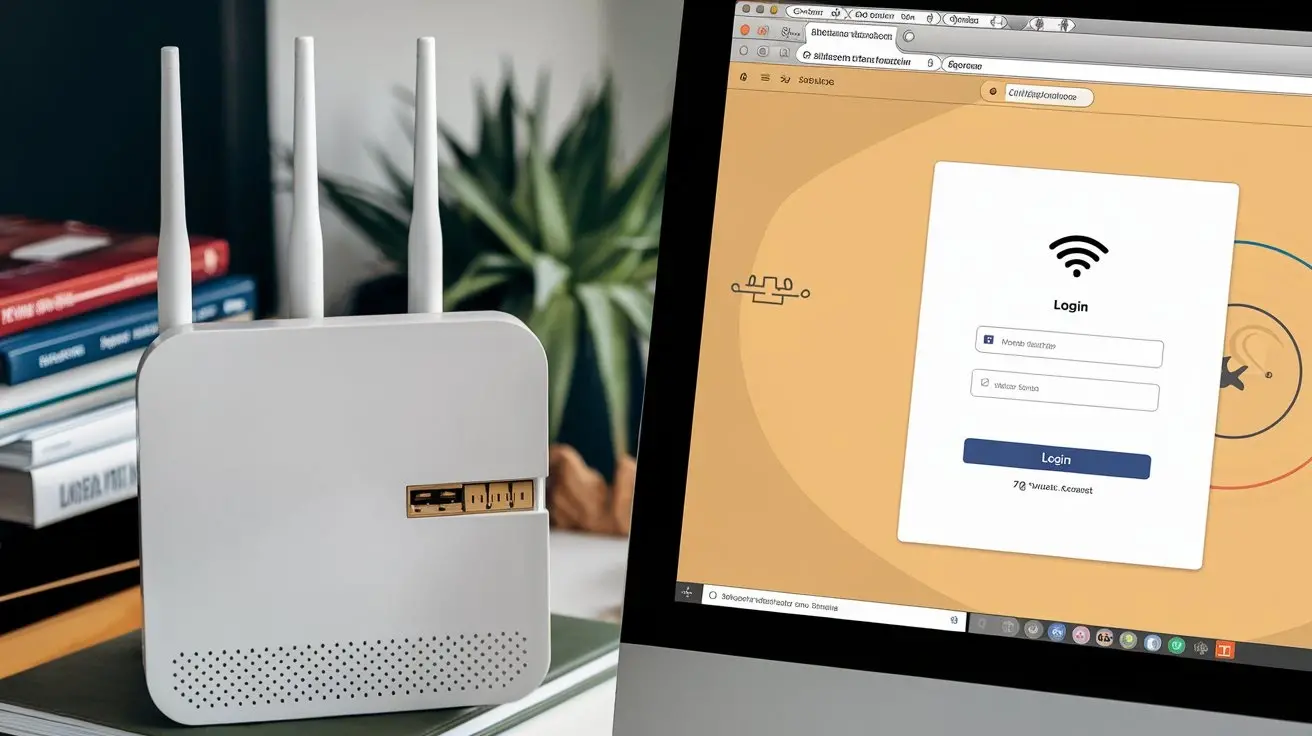
Routers are some of the most important n/w devices that interface a home or office n/w with the internet. Whether you have a new Internet Connection or you have bought a new router device, you must learn how to log in to the router. This guide will help you understand how to enter into the router and configure all the settings you need. Read on to get started!
1. You should collect your router’s login information
In order to access the router management page you will need the router’s IP address as well as some default login credentials – the router’s username and password. The details like model number, firmware version and Serial No. Can however be found on most routers under the sticker at the bottom or side. If you are not sure what username and password to use, you can look at the user manual that came with the router, or go to the manufactures website for help.
2. Access the router’s network
For you to be able to get to the router login page you need to first connect your computer or device to your router. All routers nowadays have 2.4 and 5 GHz networks, so when in doubt, try connecting to both of them. If successfully connected, you should be able to view the network you have connected to together with other connection rates.
3. Locate your router’s IP address from the manual or use any tool to detect your router’s IP address Open the web browser and type the router’s IP address there.
When you are done with it connect your device to the router’s network,o and pen your favourite browsers like Google Chrome, Microsoft Edge or Mozilla Firefox. In the top field of the browser window, type the IP address of your router that is given either on a sticker at the back or side of your router or in the instruction manual.
4. Enter your login credentials
After you have input your router’s IP address click next to direct you to the router login page. Here you just have to input the username and password. Now, back to the web interface of the router to log in, use the username and password written on the router sticker or the user manual. It is always important to note that when you have created new passwords on your devices and you fail to remember them then you might even have to reset your router and get a new password.
5. Access your router's settings
Once you enter your login credentials you should be redirected to your router's home settings page. Configurations such as Wi-Fi, security, and subnet mask together with the ability to block websites for children will be shown on this page. Through these settings, g you can change various settings on your network so that you can have the best experience possible.
6. Update your router's firmware
It is crucial to install the latest firmware to your router to have it on top of its functionality and protection. In the general settings of your router, you should find an option marked as “Firmware Update” or “Router Update”. Select this option and read the instructions on the screen to change the firmware of your router.
7. Secure your router
Protecting your router is of great importance to avoid any interception and attacks on your network. To secure your router, consider the following options:
- Change your login credentials: As mentioned above, one should always avoid using the default username and password to access the router to avoid cases where the router is hacked. Create a password that reflects your personality and wish and should contain uppercase lowercase, numbers, and symbols.
- Enable WPA2 encryption: Hackers can easily interfere with your wireless network if you do not have the WPA2 encryption code activated on your router. This setting also helps to make your Wi-Fi protected and confidential and the information transmitted is safe.
- Set up a guest network: If your home or office is frequently hosting guests having their own devices connected to the internet, you should probably create another network for embracing guests. They enable your guests to browse the internet without connecting to the main network hence your privacy and data integrity are protected.
8. Monitor your network
In order to get the best out of your network, it is very important to carry out the following regularly. In most routers, there is a setting menu where you can view the speed of connection of your network, the number of devices connected in the network and problems that may be associated with the network.
9. Restart your router
In my opinion, it is necessary to reboot the router occasionally to keep it in the best shape possible. Some of the router problems you can fix include but are not limited to resetting your router back to its factory settings to clear its memory of any problems ring your router will help clear its memory of any problem. If you want to restart the router, you have to switch off the route and wait for 30 seconds before you switch on the router again.
10. Consult with the technical support of your router’s brand.
If you find yourself having a problem ilogginginto your router or find yourself lost about where to go for the settings, you might want to get a hold of your router service. Most manufacturers have customer support and, therefore, you can contact them for any problems you face.
Conclusion:
Accessing your router settings and altering the functionalities of the router may be quite a challenge for one who does not have prior experience. However, with the details outlined in this guide, a user can log in to a router and modify thesettingsg. Always update the firmware of your router, protect your network, check on your network’s performance, and reboot your router to make sure that it is working and safe to use.


