While configuring a CenturyLink modem and router can be challenging, the process is quite easy if one adheres to the following procedures. This article will take you through connecting your CenturyLink modem, signing up for an internet service provider, configuring your Wi-Fi network, and getting high-speed internet.
What You'll Need?
Before getting started, make sure you have the following:
- CenturyLink modem. This may have been obtained from CenturyLink at the time you subscribed to the service or you may have purchased your compatible model. Some of the CenturyLink modems are the C1000A, C2000T, and C4000LG modems.
- Ethernet cable. If possible, use the one that came with your modem. This is needed to almost always link up your modem to your computer or router.
- Computer or router. To use Wi-Fi, you require a router or a computer with Wi-Fi capacity to connect with the modem once there is a connection to the internet.
- CenturyLink account information. You will need your CenturyLink account number and your home telephone number for identification purposes.
The first step in computer integration is to link the hardware.
To begin with, you need to connect the CenturyLink modem to the source of power and wait for it to start working. Most modems have one or two LED lights that will go steady when the modem is done booting up. This normally lasts for about 1-2 minutes depending on the candidate’s performance.
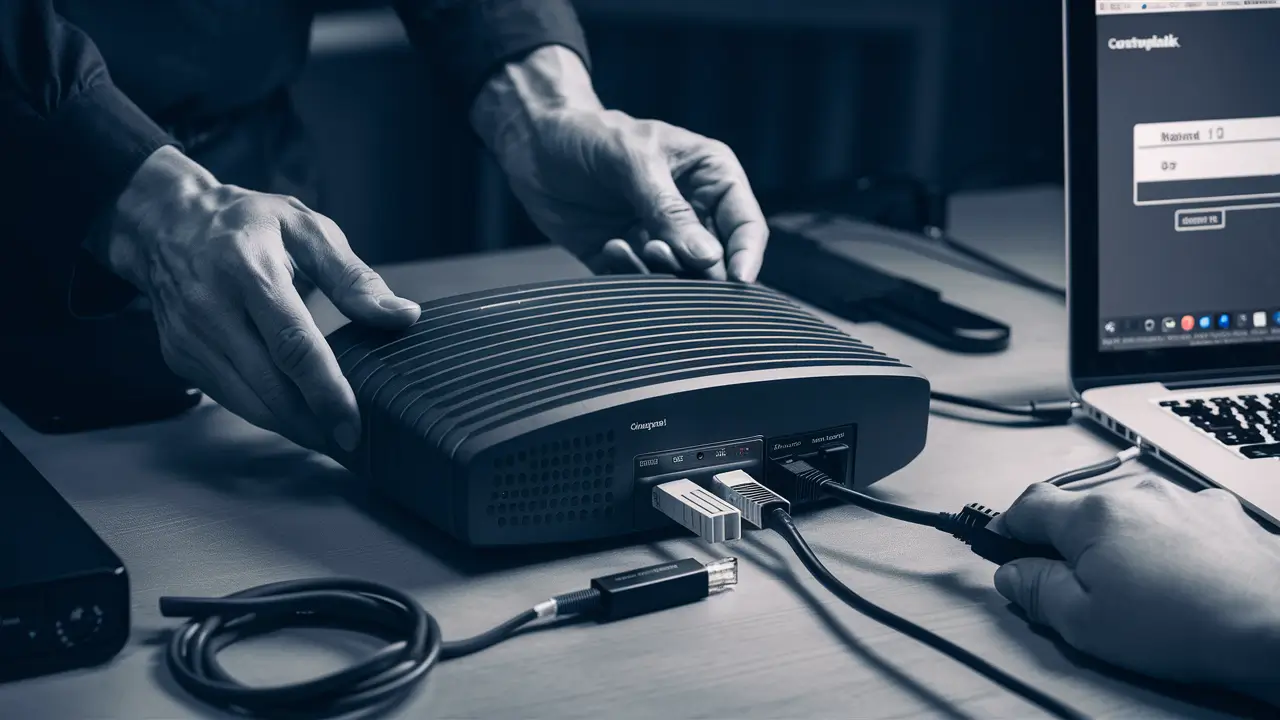
Subsequently, with the help of an ethernet cable, you need to connect your computer or router to the modem’s ethernet/LAN port. This is normally labeled and placed at the back part of the modem. Ensure it locks in properly so you hear a click.
Connect to the Internet
After your hardware is installed, you can then proceed to turn on your CenturyLink internet service.
To do this, open any web browser on your connected computer and navigate to http://192.168.0.1. This will open the administrative settings page of your modem.
If required, input your CenturyLink account number and home phone number. These are used to grant you access to the modem itself.
The modem will then dial CenturyLink to confirm your identity, and credit, and to set up your account for service. If activation is successful, the DSL and Internet light indicators on the modem will turn solid green.
Login to Wi-Fi
If you would like to create a wireless home network, plug your router into your CenturyLink modem now. Connect the router to an available LAN/Ethernet port in the modem.
Turn the router on and wait for it to start up and connect to the internet. Next, you can begin using your laptop, cell phone, or any other wireless-enabled device to search for nearby networks. Find out the default network name of your router and choose it.
If you have configured a default password for your router and you need to use it to connect, do so by entering the password when required by the device. If this does not work, you may have to create a new name and password for your Wi-Fi through the router’s web-based control panel.
The specifics of how to access the settings of a given router can be looked up in the manual that came with the router. But generally, you would open a browser and navigate to an admin page like HTTP: or use other IP addresses such as 192.168.1.1 or 192.168.0.1.
This is where you get to set your network’s name or the Service Set Identifier (SSID), choose between the WPA2 or WPA3 encryption, and set a robust Wi-Fi password.
Test and Enjoy Your Connection
You're all set! The last step as such is to check CenturyLink's internet connection.
In any device that has been connected to the internet, open a browser and visit a few websites to confirm that you are connected to the internet. It’s also worth trying visiting speed test sites to see how much available download and upload speed you have over Wi-Fi and ethernet.
If you have concerns, ensure that all cables are well connected, and then, restart your modem and router. This is to ensure that when accessing the modem admin interface, one enters the correct account details.
As long as both the DSL and Internet signal lights remain steady, you should now have a low-latency connection courtesy of one of CenturyLink’s high-speed options. Wire-free connectivity via wireless fidelity, commonly referred to as Wi-Fi, enables working without connecting devices like phones, laptops, and smart home gadgets, among others.
Troubleshooting Tips
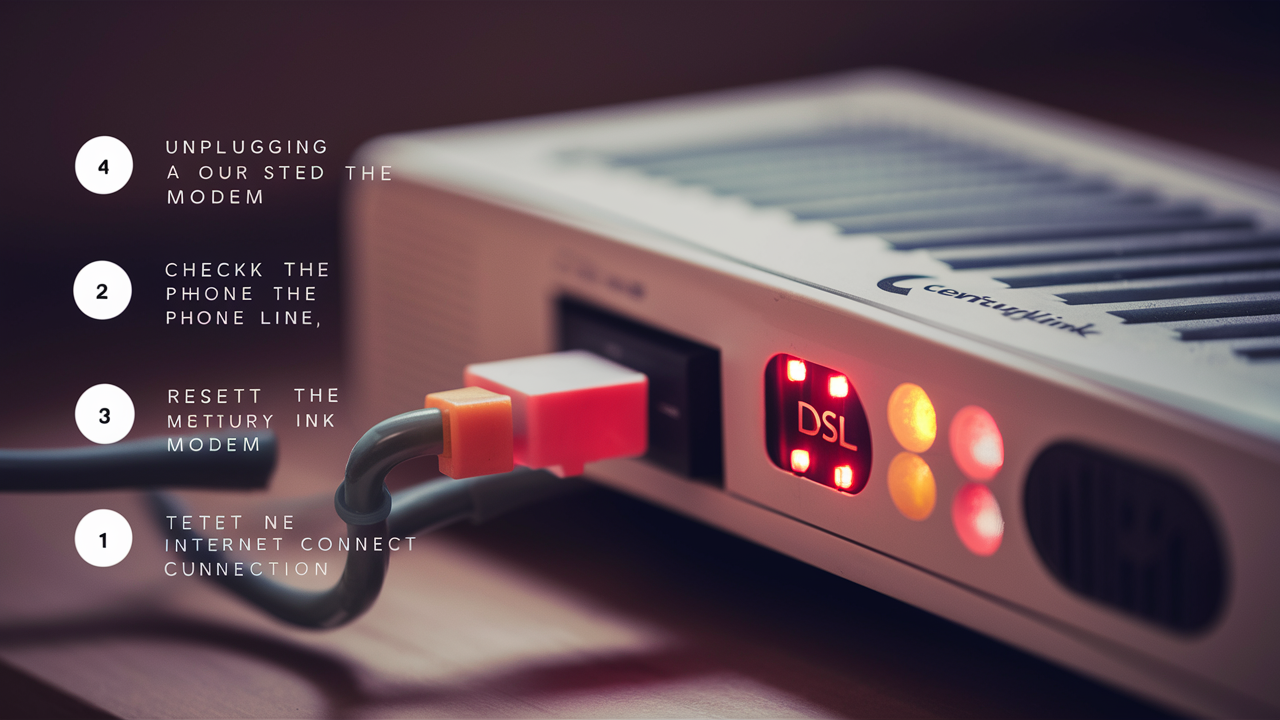
Here are some quick troubleshooting tips if you encounter issues getting your CenturyLink modem online:
- Check that all cables are in good condition and are connected properly to the corresponding ports. If they don’t work, try a new ethernet cable.
- Check that your modem and router are both connected to a power source. Reset them by disconnecting them from their power source and reconnecting them.
- When activating service on your CenturyLink account, it is crucial to verify your account number and home phone number twice.
- If it was previously configured,_reset the modem to its factory default settings_.
- Go to CenturyLink support in case the problem remains unresolved. They are capable of helping with activation and identifying connection issues, as well as other concerns.
With the above procedures, your new CenturyLink modem should be up and running and you can continue browsing the internet. Get to have fast home internet for working, streaming, smart home management, and all the other uses!
Call (844) 340-6002 to get a new CenturyLink connection now!
Read More:
How to Return CenturyLink Modem?
How Much is CenturyLink Internet Per Month?
How to Reset CenturyLink Router?
How to Change a CenturyLink Wi-Fi Password?