EarthLink is among the most famous ISP companies operating in the United States. It provides internet connection through DSL, cable, and fiber optic technology. It is not very difficult to set up the internet provided by Earthlink at your home if certain steps are followed. In this blog, the reader will learn how to connect EarthLink internet to his/her home by following simple instructions.
Things You'll Need
Before starting the setup process, ensure you have the following.
- A working telephone line, if you’re going to get DSL internet. If you’re planning to use cable internet, you will require a cable TV connection in your home.
- The modem/router combo device that comes with an EarthLink kit for self-installation.
- A portable computer like a laptop or a desktop with an integrated WiFi interface or a WiFi card.
- EarthLink user name and password given to you through mail once you create a new account with the company.
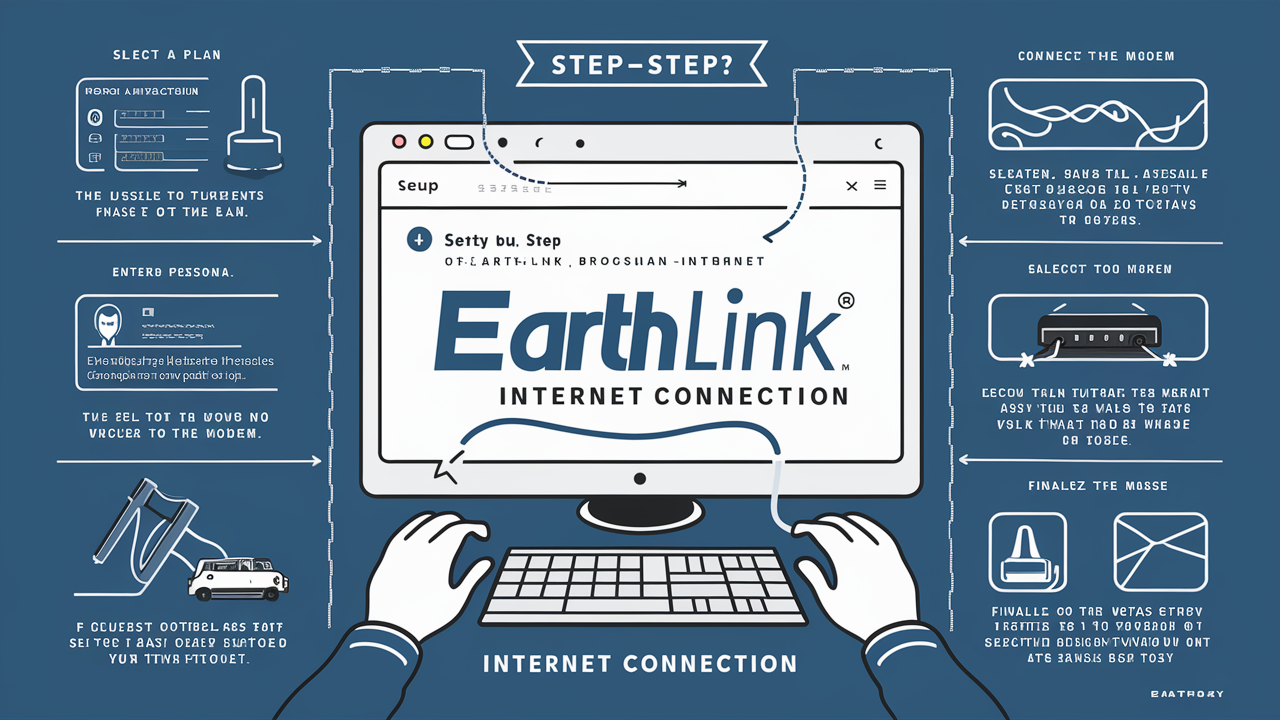
The first step is to decide which package you want out of the internet.
Firstly, you have to select the right EarthLink internet plan that is suitable for your usage requirements and your wallet. EarthLink internet service provider at speeds of 1.5Mbps to 1Gbps and services like anti-virus, parental controls, etc. Check the plans available in your area and then go for it.
The basic plans from EarthLink are from $40 per month and can go as high as 100Mbps. If you require ultrafast gigabit broadband internet it is offered in some locations at $80 per month. They too offer special prices for new customers, especially on the first purchase they make.
Step 2 is to sign up online online.
After deciding on the internet plan, follow the steps below: Go to the EarthLink website and locate the “Shop Internet” button. Please enter your address to see whether the service is available in your region. Secondly, choose your desired plan and click on the “View Plans” option.
On the plans page, click on “Sign Up” and complete the process of creating your EarthLink account with the necessary information. Select a strong password for your account. Check the order summary and make the payment to finish the registration.
Step 3: Schedule Installation
Once registered, you can arrange installation by contacting EarthLink via phone support or through an online account portal.
Existing wiring for DSL or cable internet can be activated by EarthLink for internet service without having to send a technician to the client’s home. In the case of new connections, which may include fiber optic internet, a technician has to come to your house to complete the connection.
You will get the details about your installation date and time through an email and a text message.
Step 4: Setting up the Hardware
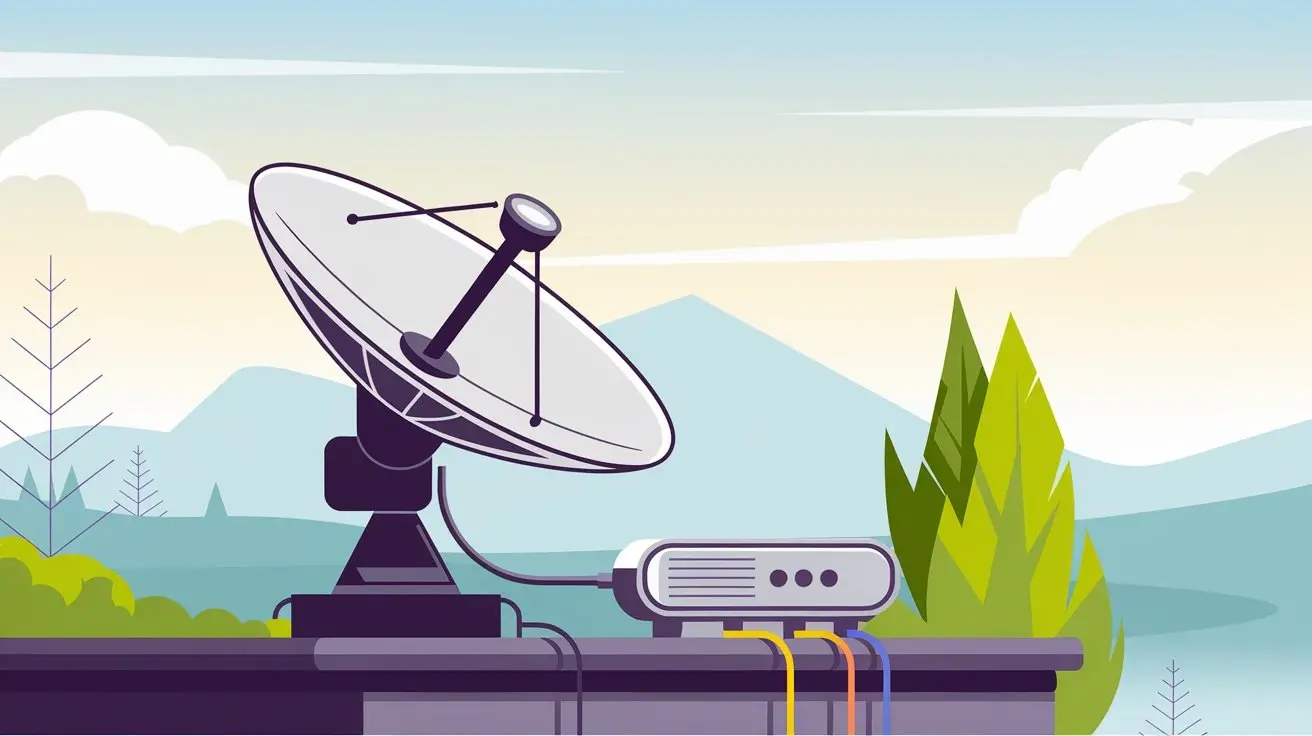
After getting a subscription to the internet service from EarthLink, you can then install the hardware. To begin with, plug in the modem/router combo device provided in your self-installation kit and switch on the device.
For DSL internet, you can use the phone wire to connect this port to your telephone wall socket. For cable internet simply use the coaxial cable from your cable outlet and plug it into the cable port of the modem.
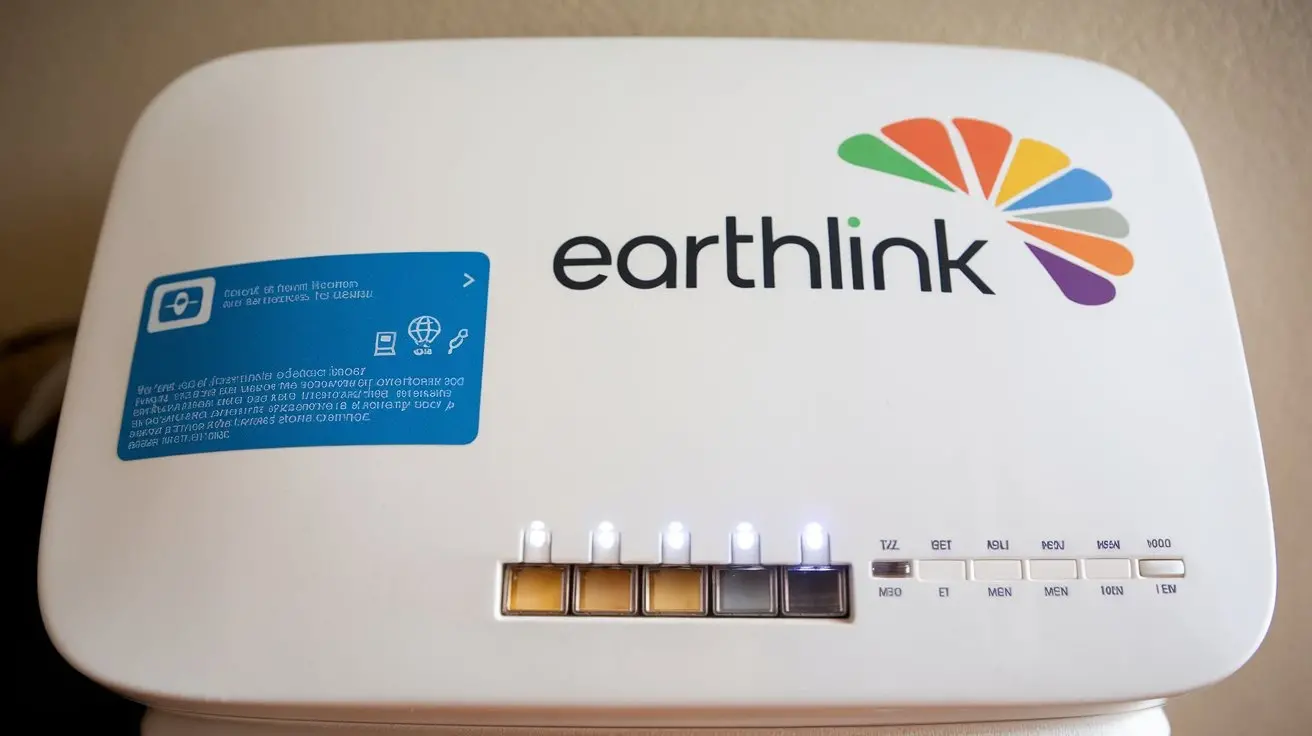
After connecting, wait for a few minutes because the modem will set up your EarthLink internet connection. Check the modem manual for blinking light meanings. The meanings of each LED light are as follows: A steady bright light means that the device is ready to be connected to WiFi.
Step 5: Go to WiFi
Identify the default WiFi network name (SSID) and password written at the base of the modem/router gadget. Although both, you have to access the WiFi settings on your computer and use the given credentials to connect to the modem’s wireless signal.
To modify the default WiFi name and password, you have to go to the modem admin interface by typing the IP address written on the modem in your browser. Then go to the WiFi setting and modify your wireless network profile.
Make all your home devices like laptops, phones, tablets, smart TVs, and so on connect to the wireless network. For wireless connectivity, you can use WiFi, but for wired devices, you can use ethernet cables.
The final step is to simply log in to Your EarthLink Account.
The last process is the account login by visiting the EarthLink net and entering your account details. Navigate to the “My Account” section to reach your user interface.
This section under account tools provides the ability to view account details, data usage, changing plans, and bill payment, among other features such as customizing WiFi settings including guest access, and blocking devices among others.
If you encounter any problems, you are free to use the messaging system that is available in the EarthLink account portal and get in touch with the support team. The support agents will assist in solving connectivity issues or in case of any problem in the installation process.
Conclusion
It is easy to connect to EarthLink internet by simply following these easy step-by-step guides on how to install hardware and get connected. Correct configuration helps you establish a fast, reliable, and secure connection to the Internet.
For any assistance during the installation process or if you wish to switch between the different plans later, you can contact EarthLink’s customer care service through a phone call or the online customer account.
Call (866) 240-0701 to get a new Earthlink connection now!
Read More:
What Type of Internet is Earthlink?
Is Earthlink Wireless Home Internet Good?
Lumen Fiber Plus: What You Need to Know Before You Switch
How Much Does Lumos Fiber Cost? A Comprehensive Pricing Guide
Lumos Fiber Optic Internet: Is It Worth the Investment?