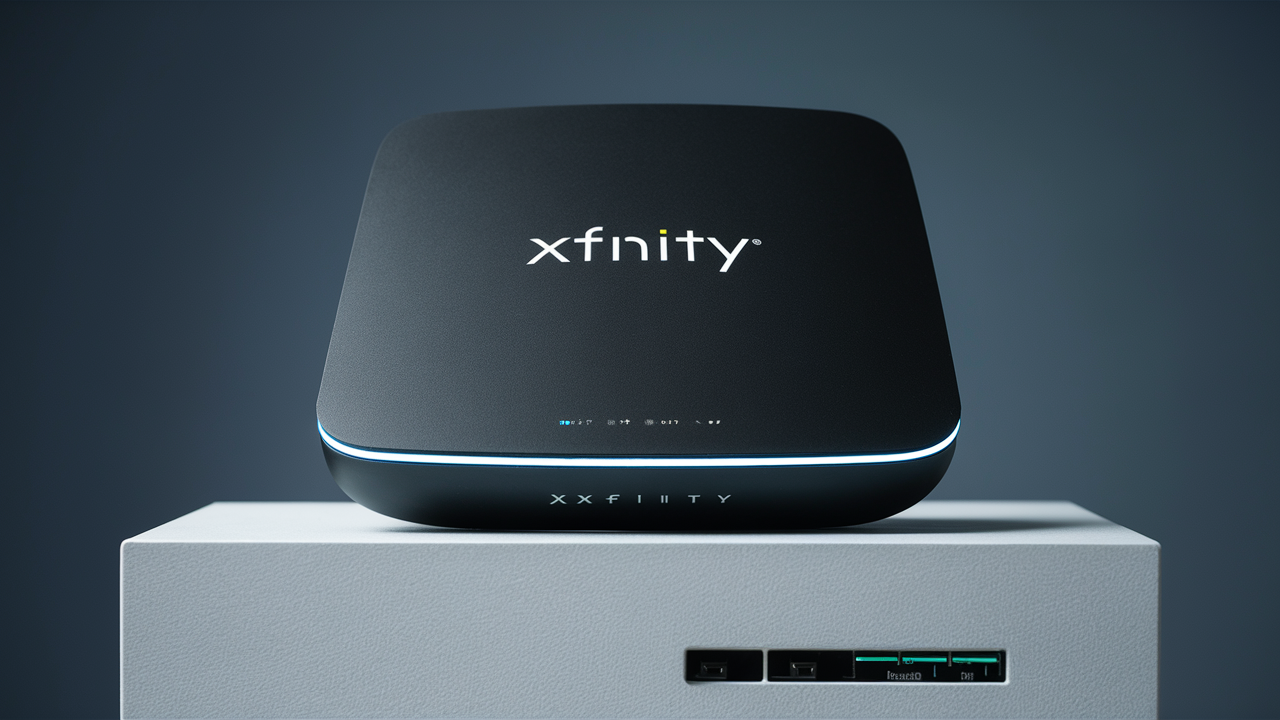
Getting a new Xfinity modem can be an exciting experience, but it also means that you will have to set up a new device again, which can be time-consuming and tiresome.
You just got a new Xfinity modem for your internet service provider? Installing a modem is not very difficult, but here are some things that anyone should do to make sure the modem is properly connected. It is easy for homeowners to set up their new Xfinity modem and get that seamless internet connectivity within their homes.
What You Need?
- New Xfinity-compatible modem
- Xfinity modem and it comes with a package containing instructions on how to set up the modem.
- Power outlet nearby
- Coaxial Cable (generally included)
- To make modems some computers, phones, or tablets can be used
Step 1: Select the Location of Your Modem
First of all, one should decide where the new modem should be located. Some good places in your home might be:
- Next to a window for a better signal or outside for the best signal in case of WiFi.
- Located in such a manner that most of the rooms of the building can be accessed easily.
- Close to the core systems for high-speed, cabled connections
- On a stand near a wall or in a corner on a shelf at a higher level to get better signals.
Ensure that you are near a power socket where you can connect the modem. Do not place it in enclosed cupboards because such spaces disrupt the signals.
Step 2: Connect the Coaxial Cable
They are often of a coaxial design and require you to have an outlet conveniently located where you position the modem provided by your cable company. If one is not available or you wish to install it in an area not close to the switch, you might require a technician to install and connect new wiring initially (there may be added costs involved).
However, if you do have a working coaxial connection ready, screw one end of the cable that came with the modem securely into the cable port located at the back of the modem. Ensure that there are tight connections between the wires. Plug the other end of this to your cable outlet on the wall and screw it tightly.
Step 3: Initial Connection and Booting
Plug the other end of the coax cable into the modem and lastly plug the power cord into an electrical source. Check whether the outlet has been turned on.
Find out the position of the ON / OFF button on the new modem. It takes 1-2 seconds to turn the modem by pressing the button more if needed when switched off. You should observe the status lights come on and that is a confirmation that the device has power.
Step 4: The Internet Device connection can be made through these methods;
The last step to complete the settings of your new modem will involve connecting to it via a phone, a tablet, a laptop, or a desktop computer.
For wireless devices, connect the device to the internet by searching for the WiFi network name and password which can be found at the backside of the modem or in the documents enclosed in the box. More so, it is used to connect to this modem network just like any other WiFi.
If you want to connect with the wired connection, then you should turn on the Ethernet cable to connect the Ethernet port of the modem to the computer. This is helpful to prevent the setup process from being disrupted by connection issues or if you have a specific username or password for your modem.
Step 5: Subsequently, one can access the Modem Interface.
After being connected either through the wireless connection or Ethernet cable, start your preferred internet browser. To make the settings, go to the default gateway IP address, often 192.168.100.1.
If your device is connected with Xfinity registration, then through this browser, you can view your modem’s status and configuration page. This interface helps you monitor various connection settings, change the name of the wireless network, assign passwords, configure additional parameters, and check connection speeds.
If it asks for a sign then, Xfinity offers the default modem login details. This can be located either on a sticker on the modem, in the included instructions, or you can refer to Xfinity customer service.
Step 6: When you purchase one, you should register your device online.
The final procedure is to install your new modem for long-term use with Comcast Xfinity if you are a subscriber to their services.
Locate the serial number MAC addresses for wireless LAN and wired LAN plus the model numbers while still logged into your modem interface. Write these details down.
On another device, head to Xfinity’s activation portal at https: It is also advisable to mention the official website of the company where users can register, namely
You will then click the tab ‘Device Details’ ‘Serial No.’ as well as ‘MAC’ addresses to enable registration of your modem. On its completion, the newly acquired Xfinity modem should begin activating in just a few minutes. Now make sure that the device is connected properly by performing a connectivity test.
Step 7 (Optional): This article explains how to set up your modem’s WiFi network.
If you wish, customize your new modem’s settings like:
- WiFi Network Name – It is better to make a change in the SSID instead of using a default one.
- WiFi Password – Select a secure password for more devices.
- Wireless Channels – To set the desired wireless channel, choose the right band for your locality.
- Port Forwarding – This allows the router to open a specific port to accommodate gaming systems and other specialized equipment.
- Parental Controls – Limit which browser contents can be accessed by the child profile.
- Portability – Permit modem control from the home zone only.
Consult your Xfinity modem user manual or the specific guide of your modem to make changes to these settings. Always remember to apply and save changes to have the specific setting that you want.
This article outlines some useful tips that users should follow when connecting their Xfinity modem without interference.
Here are some extra pointers to get up and running with your new Xfinity modem quickly:
- Place it in the optimal location for WiFi signals before plugging all the units in.
- Check to make sure that the firmware has been updated to the latest possible version for the device in question.
- Reset equipment such as modems and devices if activation problems are encountered in the course of operation.
- If issues remain unresolved, customers may speak with customer support representatives at any time.
- One might consider renting an Xfinity xFi gateway modem to interact with Xfinity apps, xFi Pods as well as xFi Complete home cybersecurity.
Ordering a new Xfinity modem is as easy as a piece of cake if you just attach the right cables in the right position and follow the setup procedure. Quite soon you shall have having seamless internet connection through your contemporary and dependable home networking equipment.